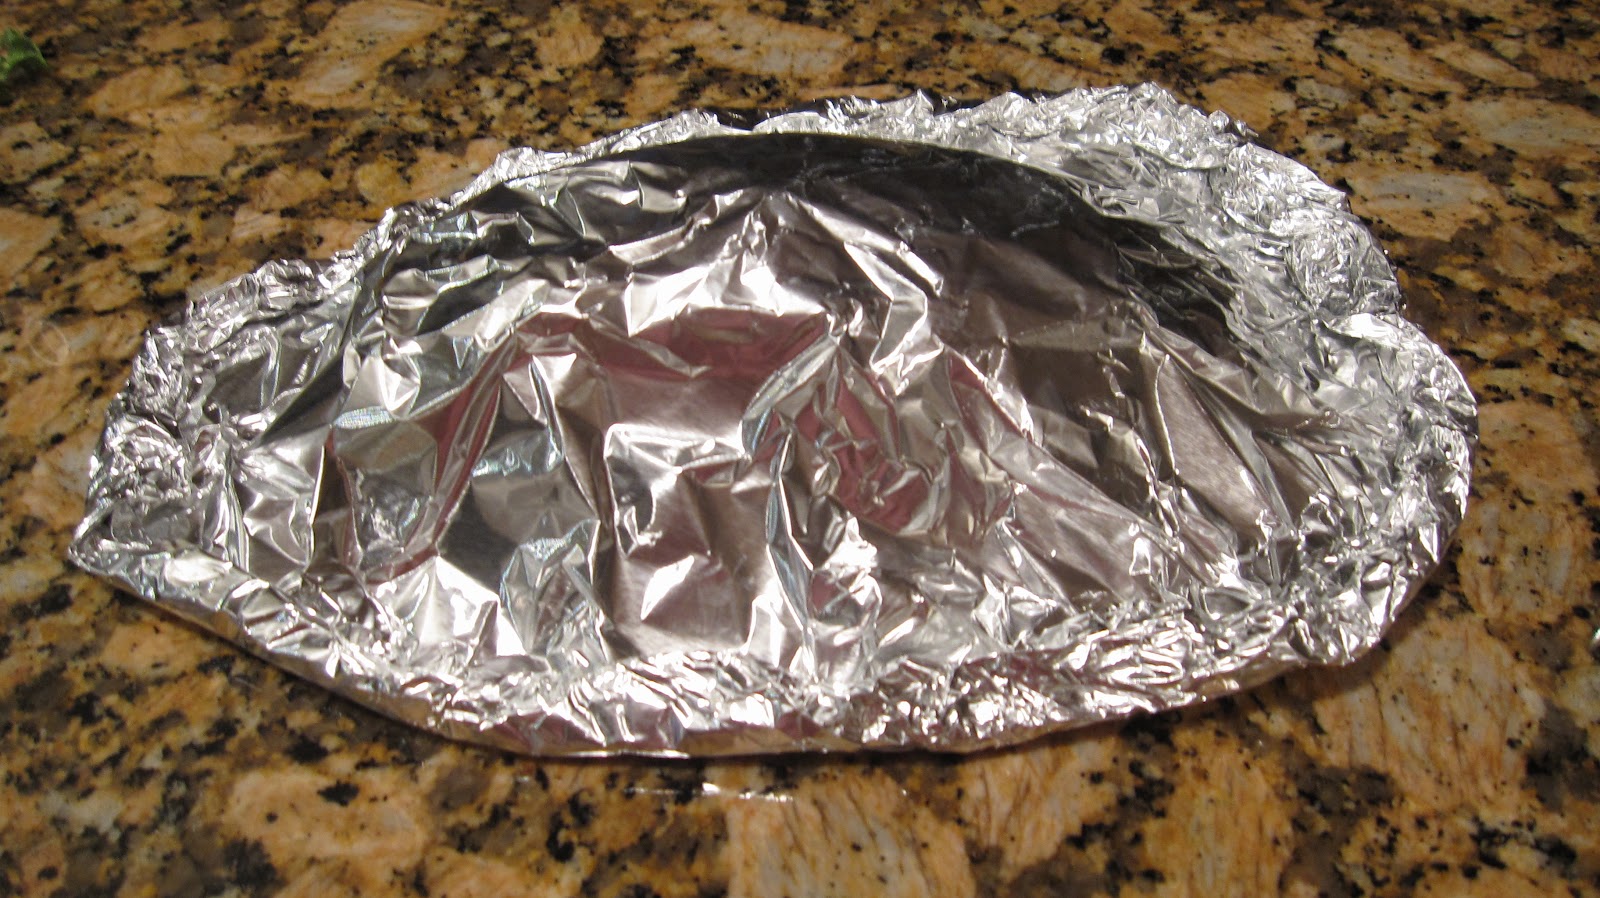
Sunday, February 16, 2014

Cozy up (Holly-fied Gaston Beef Stew – Inspired by The Joy of Cooking)


I have many many cookbooks, but rarely follow a recipe.  I love to read them, get inspired by them and kinda treat them like text books from a favorite class.  But there’s one recipe that I count on when the weather turns cold:  Gaston Beef Stew from The Joy of Cooking.

I’ve been making this yummy stew for as long as I’ve been living away from my folk’s house.  That’s a very long time.  

Through the years, I’ve continued to tweak this homey basic here and there, so now it is more my own. For example, I use bacon rather than salt pork - a couple of slices does the trick; I used to use dried thyme and fresh rosemary, but lately have been on a herbs d' Provence kick. (I always thought it was odd that the original recipe had no spices or herbs, other than the parsley.)  In addition, the original recipe does not call for either mushrooms or peas, and frankly, I don't think a stew is a stew without them.  So in goes frozen peas and sliced mushrooms. I've also bumped up the amount of both the tomato sauce and beef stock.  Oh, and I also add the parsley in three stages, rather than all at one time when making the tomato-based cooking liquid. So it's still basically the same, but it has been "Holly-fied."

With the recent snow melting and showers off and on, I made a big pot of it yesterday.  It was absolutely delish.  And, as the original recipe says, it gets better after sitting overnight, so we’ll really enjoy the leftovers tonight.

Holly-fied Gaston Beef Stew
Serves 8
Ingredients
This looks like a lot of ingredients but you probably have most of them in your pantry
  • 2 – 3 pieces of bacon cut into ½ inch slices (this replaces the salt pork called for in the original recipe)
  • 2 pounds of beef, all visible fat cut away and cut into bite sized pieces. (I like to use a roast suitable for making pot roast, but you can buy pre-cut stew meat as well.)
  • 2 large cloves of garlic, chopped
  • 1 large brown onion, chopped
  • 1 16 oz can of tomato sauce
  • 16 oz of beef stock (fill the empty tomato sauce can)
  • 12 whole peppercorns
  • 4 whole cloves
  • 2 Tbs Worcestershire sauce
  • 2 Bay leaves
  • 1 cup of chopped parsley
  • 6 small white potatoes cut into bite-sized pieces
  • 6 carrots, peeled and cut into thick coins
  • 2 ribs of celery, sliced into ½ inch pieces
  • 1 cup frozen peas
  • 2 cups sliced mushrooms
  • About ¼ cup flour
  • Lots of kosher salt
  • Lots of fresh cracked pepper
  • Lots of Herbs d’ Provence
  • Few splashes of red wine vinegar


Method
  • In a Dutch oven, brown the bacon until the fat is rendered and the meat is crispy.  Remove the bacon and reserve the fat in the pot
  • Season the meat with salt, pepper and Herbs d’ Provence.  Brown the meat in the bacon drippings over a medium high heat.  Do this in 3 to 4 batches so you brown the meat and don’t boil it in its own juices.  Add a bit of olive oil if the pot gets dry during this process.
  • When all the meat is browned, put it back in the pot with the bacon and sprinkle the flour over it.  Stir to combine.
  • While the meat is browning, combine the tomato sauce, beef broth, onions, garlic, cloves, peppercorns, Bay leaves, 1/3 of the parsley, another few shakes of the herbs d’ Provence, and the Worcestershire sauce in a small sauce pan and bring to a boil. Pour this mixture over the browned meat after you dust it with the flour.
  • Bring the entire mixture to a boil, reduce the heat to a simmer, cover tightly with a lid and cook for 2 hours. You can stir now and then, but try to leave it alone!
  • In about 45 minutes, put the potatoes and carrots into a pot of cold water with a generous amount of Kosher salt.  Bring to a boil and then simmer for 5 minutes, or until slightly tender.  Don’t over cook!
  • Strain the veggies, and add them to the stew pot, along with the raw celery, another 1/3 of the parsley and the frozen peas.  Add a shake or two of the Herbs d’ Provence, and a pinch of salt,  couple grinds of pepper. Bring back to a bubble, reduce to simmer, cover and cook for another hour.  
  • At the end of the final hour, stir the stew, check the seasoning – add salt and pepper if necessary.  
  • Just before serving, stir in the remaining parsley, and a few shakes of red wine vinegar to wake it up.  (This is a great trick for anything you cook for a long time.)
  • Serve with crusty bread if you like, but this is just fine all alone.


Enjoy!


Sunday, February 9, 2014

Tilapia with Roasted Butternut Squash, Tomatoes and Spinach (8 WW Points Plus Value)


Packed with "Power Foods"
this dinner is filling and
as healthy as it gets.
I’ve been on a roasted butternut squash kick.  Cut into bite sized pieces, drizzled with olive oil, and sprinkled with salt, pepper and whatever herb or spice floats your boat and butternut squash is a filling, figure friendly side dish or main event.  Yup, in my book these babies are crave-worthy.

Tonight I was also craving fish.  The two came together for a cozy winter dinner that pretty much cooked itself while we watched the Olympics. 


Tilapia with Roasted Butternut Squash, Tomatoes and Spinach
Serves 2 (8 WW Points Plus Value per serving)

Ingredients
  • 2 pieces of tilapia – boneless, skinless filets  or “loins” (who knew fish had loins!?!)
  • 1 1/2 cups butternut squash, peeled and cut into bite sized pieces (or buy it prepped at the store)
  • ½ cups cherry tomatoes
  • ¼  of a large sweet onion, cut into ¼ inch slices
  • A big handful of baby spinach
  • 1 tsp olive oil for the fish, and 1 TBS olive oil for the veggies
  • Kosher Salt
  • Cracked black pepper
  • Herbs d’ Provence (or whatever herb or herb blend you like)
  • Juice half a lemon
  • Tablespoon of capers (optional, but I love the briny punch they add and always have a jar on hand.  Try them in tuna salad!)


Method

The Veggies
  • Heat oven to 375 degrees
  • Cover a baking sheet with foil and scatter the squash, tomatoes and onions in a single layer
  • Drizzle with olive oil, sprinkle with salt, pepper and Herbs d’ Provence; and toss gently.  Then spread the mixture out to a single layer
  • Put into the oven and roast for 30 minutes, stirring once or twice for even cooking
  • At the 30 minute mark, pull the sheet out.  The squash should be soft and the tomatoes deflating.  Add the spinach and stir again
  • Replace in the oven and roast for another 15 minutes
  • At the end of 15 minutes, pull from the oven and pull the foil up and around the veggies like a pouch to steam further.


The Fish
  • Sprinkle each side of the fish with salt and pepper
  • Heat a non-stick sauté pan and drizzle with about a teaspoon of olive oil. 
  • When the pan is hot enough for the fish to sizzle when it touches the pan, add the fish and sauté  on one side for 2 minutes; then flip the fish, squeeze on the lemon juice and add the capers and cook for another 2 minutes or until the fish is firm to the touch.


To serve – spoon half of the veggie mixture onto a plate or pasta bowl and top with a fish filet. 

Enjoy!


Saturday, January 18, 2014

Post Winter Walk Lunch (Zucchini/Chicken Hash - 6 pts)

At 34 degrees with a stiff wind blowing it was just too cold for a tennis lesson today.  So after canceling my court time, I took off for a walk/run around the neighborhood.  Holy moly it was cold.  

And that chilly jaunt certainly did work up an appetite.  But what to make?  Definitely something warm.  And something that wouldn't blow the whole walk/run thing.  So off to the fridge....

If you are near a Trader Joe's 
RUN, don't walk, and buy their
Everyday Seasoning.  
As my eyes surveyed the situation I spotted some rotisserie chicken, a bit of an onion,  a red bell pepper, 1/4 of a zucchini.... and in the deli drawer amongst all the lovely cheese... some figure friendly thin sliced cheddar.  Done.

Most people don't think realize that if you grate zucchini and saute it over a medium high heat the sugars caramelize and almost mimic hash browns.  OK, I said ALMOST, it is not exactly the same.  But it's yummy.  Employing that method I came up with a hash like concoction that fit the bill.  And weighed in at only 6 Weight Watcher points.  Even better.

I hope you experiment with this method.  I've done something similar, substituting sliced cherry tomatoes for the chicken and putting a poached or fried egg on top - oh yeah!


Ingredients

  • 1 tsp olive oil
  • 3 oz rotisserie chicken breast, cut into cubes
  • 1/2 cup shredded zucchini 
  • 2 Tbs chopped onion
  • 2 Tbs chopped red bell pepper
  • Pinch of Kosher salt
  • About 4 grinds of Trader Joe's Everyday Seasoning (a MUST have for every pantry!) or cracked black pepper
  • 1 slice of Sargento thin sliced cheddar cheese
  • Your favorite hot sauce, optional


Method

  1. Heat the olive oil in a non stick skillet
  2. Saute the onion, then add the zucchini, bell pepper, salt and seasoning/pepper. 
  3. Keep turning it until it is soft, then press down and let it brown a bit, lowering the heat if it starts to burn or look scary.  
  4. Do this until you reach the consistency you want (I like it slightly caramelized) then add the chicken.  Stir to combine and continue to cook until the chicken is heated through, a minute or two.  
  5. Top with the cheese, turn off the heat and cover with a lid to melt the cheese.


Serve with your favorite hot sauce if desired.  Today I opted for Sriracha

Enjoy!

Wednesday, January 1, 2014

Starting the New Year with a Fresh Outlook (Hot Oat Bran Cereal with Apples, Oranges and Cranberries)

Warm and satisfying - a great start
to a winter day

Like most folks we rang in the New Year with good friends, great food, and a glass of champagne or two (or make that three!).  Thankfully some dancing was also involved as well as some serious cheering (sadly, followed by not cheering) during the Duke/Texas A&M game, so a few calories were spent.  But enough is enough - and as the new year dawns it is time to kick start a healthier lifestyle. 

As resolutions go, eating healthier is not unique. But a common theme last night was the fact that I should be posting to my blog more in 2014.  I will admit I've been remiss in this area for the past year; but I did agree to get back to creating and posting in 2014.  

At the same time I've also been concentrating on exercise and healthier eating via the Weight Watchers program (and have a closet full of new clothes to show for it!).  So this year I will combine the two with a goal of regularly posting a WW friendly recipe.  Most will be original or a healthy riff on a classic.  None will be tested, but should provide my followers a guide for their own creations. And I will calculate WW Points Plus values to the best of my ability.

To start things off I offer up my current go to breakfast - Hot oat bran cereal with apples, oranges and cranberries.  Warm and satisfying, this yummy concoction weighs in at just 4 WW points, including a splash of low fat milk. I make big batches on the weekend and package it up in single portions for a quick start to the day.

Here's how you do it....

Hot Oat Bran Cereal with Apples, Orange and Cranberries
Single, large portion (4WW PP Value - and loaded with power foods)

Ingredients
1/4 cup oat bran
1/2 small apple cut into small pieces  
1/2 clementine or orange cut into small pieces  
Handful of fresh cranberries
1tsp honey
5 shakes of cinnamon
1shake of ground clove
1 shake of ground ginger
Pinch of salt
1 cup water
1tsp chia seeds (optional, but this is a great source of amino acids and adds texture)

Method
Combine all of the ingredients in a small saucepan and heat on medium heat until boiling, reduce heat stirring occasionally and simmer until thick and cranberries start to pop. You can help them along by smushing with a fork.

Serve with 1/4 cup of low fat or nonfat milk.

Enjoy!

Thursday, August 9, 2012

Foiled again! (Fish in aluminum foil pouches.)


“Best way to guarantee that I'll make a pitch for going out to dinner is for me to thaw fish. Funny thing - I want to go to a seafood restaurant.” 


That was my Facebook post today.  But as the afternoon turned to evening and about 20 minutes on the deck listening to the cicadas with a glass of wine in hand, we decided to stay in.

I still wasn’t in the mood for messing with much in the kitchen. So I whipped out my trusty aluminum foil and made some tasty packets of seafood delight. 
 You can do just about any fish this way with any combination of veggies.  Served up with some pasta or rice and you are home free with little to no clean up. I often add some lemon slices, but tonight's version had more of an Italian flair.

 
Fish in aluminum foil pouches
Note – this is a very mild dish.  If you like things spicier, add more herbs.  Regardless, the fish stays super moist and is really yummy.
Serves two

Ingredients
  • 2 tilapia fillets or other mild fish
  • ½ zucchini, cut into matchsticks (julienne)
  • A hand full of grape or cherry tomatoes, sliced in half
  • ¼ Vidalia or other sweet, mild onion, cut into thin strips
  • ½ stalk celery, cut into thin strips
  • 8 – 10 fresh basil leaves
  • 1 TBS butter
  • Splash of white wine if you've got it
  • Salt and pepper 
  • Four large pieces of aluminum foil


Method
  • Pre-heat a grass grill to 350 – 400 degrees
  • Lay out one sheet of foil for each piece of fish
  • Pile the half of the veggies atop each piece of foil.  Reserve a few slices of onion and half of the basil.
  • Place the fish atop the veg. Season with salt and pepper.
  • Dot the fish with the butter and lay the basil atop the fish.
  • Scatter the remaining onion slices over everything.
  • Add the wine if you've got it.
  • Top with the remaining sheets of foil and crimp all the way around.

  • Place the foil packets on the grill and cook for 10 – 12 minutes
  • Remove and let rest 5 minutes
 Now for the big reveal.  This is so coo:
  • Carefully remove the top sheet of foil.  Place a serving plate atop the packet of fish. Hold the foil by the edges with the plate and flip quickly.  Remove the foil.  Voila!


Serve with rice or pasta with a bit of butter and fresh chives if you have them.

Enjoy.


Sunday, July 8, 2012


Time to Relax (Raw Corn, Tomato and Zucchini Salad with Lime Vinaigrette)


Even Maggie the Lab knows
how to relax on the lake
 There are a few places on the planet where I am able to relax within minutes of arrival.  Hyco Lake is one of them.  So needless to say I was very happy to receive an invitation to spend the Fourth of July there with our good friends Rusty & Debi.

Casual is the order of the day at The Lake.  As it should be.  Nothing is really planned out – we have a general idea of what we’ll do and who will be there, but beyond that things happen as they may and everyone is happy.

Crunchy, tangy and refreshing.
This summer salad is a crowd pleaser.
Case in point – I prepared a raw summer salad before we left Tuesday night, thinking we’d have it for dinner that night.  But as evening closed in a boat ride, a few hors ‘d oeuvres, and some early fireworks was a much better idea.  

The salad finally made its debut Wednesday afternoon served alongside a grilled pork tenderloin. What little was leftover made a nice dipper for tortilla chips as we eased into evening.

Use a sharp knife to slice
the corn kernels off the cob.
That’s what makes a salad like this a great thing to make ahead when you’re not really sure about a weekend schedule.  You can prep it well ahead of time, and dress it when (expected or unexpected) guests arrive.  And once you add the dressing, it gets better with time.   Heck, I think you could even toss it in a skillet and cook it up for a hot side dish with great success.

I hope you give this a try this summer.  And feel free to make adjustments along the way.  I think it would be great with cucumbers rather than zucchini and cilantro or even dill rather than basil.  The main thing–relax and have fun this summer!


Raw Corn, Tomato and Zucchini Salad with Lime Vinaigrette

Salad Ingredients
(Serves 10 - 12)
  • 4 years of fresh corn, kernels cut off (see photo)
  • 1 pound cherry tomatoes, some cut in half and some cut into quarters
  • 2 zucchini, cut into bite sized pieces
  • 2/3 cup green onions, chopped
  • ¼ cup fresh basil, chopped fine
  • 2 pinches of Kosher Salt
  • Lots of fresh cracked black pepper
  • Lime vinaigrette (see recipe below)


Salad Method
  • If making ahead, put all of the ingredients in a large zip lock bag and refrigerate.
  • When ready to serve, toss with lime vinaigrette

Lime Vinaigrette
Mix in a glass jar:
  • 3 large limes, juiced
  • ¼ cup olive oil
  • 3 big squeezes of honey from a Honey Bear (probably 3 tablespoons)
  • Pinch Kosher Salt
  • 6 grinds of black pepper

Taste and adjust seasoning – you may or may not want to add more honey, salt or pepper
Refrigerate until ready to toss with salad.

Enjoy!


Friday, June 8, 2012


Party Time (Low Fat Herb Garden Dip)


Inspired by my herb garden and served up in a
Scottish Terrier bowl with a sprig of tarragon flowers
Nothing like a garden teeming with fragrant herbs to inspire a tasty appetizer, served up in a whimsical bowl and garnished with a sprig of tarragon flowers.  

This inspiration hit at just the right moment, since we are headed to a cocktail party this evening.  I think it will be a hit – and it is figure friendly, to boot!  I entered the ingredients into the Weight Watchers Points Plus Calculator and it told me that the entire recipe is 7 points and I figure it makes about 16 TBS so a 2 TBS serving is 1 Point!


Note:   
Use this as a guide – not an exact recipe.  I started mixing stuff up and it was so tasty I had to share. 


Low Fat Herb Garden Dip

  • 1 cup Fage Fat Free Greek Yogurt
  • 1 Tablespoon Mayonnaise
  • About 3 TBS of herbs from the garden – I used tarragon, dill, thyme, basil, and chives  --  chopped as fine as you can
  • 1 clove of garlic, boiled in water for about 3 – 5 minutes and then mashed into a paste (boiling the garic will give you the taste of garlic, without the sting of fresh.  A trick I learned at a cooking class at A Southern Season)
  • Juice of 3/4 of of a lemon
  • About ¼ teaspoon Beau Monde Seasoning.  Then add more to taste.
  • Salt and Pepper to taste


Mix it all up and put into a serving bowl for dipping veggies.